Short answer: A good brow lamination before and after shows the same face, in the same light, from the same angle, minutes apart. Clients search for these photos before they book because lamination is a visual service: they want to see their own brow type go from flat or unruly to brushed up and full. Take the before with the brows untouched and brushed down, the after once the brows are set and styled, and post them side by side with a short caption that names the service.
Almost every client who books lamination has scrolled through before and afters first. That makes your own photos the strongest sales tool you have, stronger than any price or promise. The good news is that you do not need a camera or a studio, just a routine you repeat on every client. Adjust the tips below to your own training, products and space.
What a brow lamination before and after should show
The point of the photo is to make the change easy to see in one second on a small screen. A strong before and after shows:
- The brow shape. Flat, downward or patchy hairs in the before, lifted and brushed up hairs in the after.
- Fullness. Lamination makes brows look thicker because the hairs are set upward and outward to cover gaps. Show that from the front.
- Direction. Hairs that grew in different directions now sit in one clean line.
- Color, if you tinted. If the client had brow lamination and tint, say so in the caption so nobody expects color from lamination alone. The brow lamination and tint guide covers that combo service.
What it should not show: heavy filters, a different face angle, makeup added in the after only, or a brow gel that the client will not have at home. Clients compare your photos with their own mirror two days later, so honest photos protect your reviews.
What results clients can expect
Your before and after sets expectations, so it helps to explain what the photo means.
- Right after the appointment the brows look most dramatic: freshly set, brushed up and often very straight.
- After the first day or two the hairs relax a little and look softer and more natural. Many artists like a second photo at this stage.
- Over the following weeks the effect slowly softens as the hairs grow and shed. How long it lasts depends on the client's hair, her aftercare and your products, so give the range your training and product supplier use rather than a fixed promise.
A short line like "Fresh result, softens into a natural lift after a day or two" under your post answers the most common question before it reaches your DMs. Send every client home with the brow lamination aftercare instructions so her results last long enough for a great follow up photo.
A simple photo routine for every client
Repeat the same five steps and your feed starts to look consistent without editing.
- Ask for consent first. Get permission to photograph and post before you start, and note whether she is fine with her full face, eyes only or no posting at all. A line on your consult form makes this easy.
- Pick one spot. Daylight from a window facing the client is easiest. If your room has no good window, use one ring light or panel at the same distance each time.
- Take the before untouched. No brow gel, no pencil, hairs brushed in their natural direction. Take the front view plus one side angle.
- Take the after in the exact same spot. Same light, same distance, same angle, same expression. Hold the phone at brow height, not from above.
- Take a close up of each brow. These work well for carousels and for showing hair direction.
Shoot with the back camera when you can, keep the phone straight and wipe the lens. Do not edit the brows themselves; small changes to light and crop only.
How to post brow lamination before and after photos on Instagram
A before and after is the most saved type of brow post, so give it a clear format and post it regularly.
- Side by side post. Before on the left, after on the right, the service name on the image. One glance, one message.
- Carousel. Slide one the after (it stops the scroll), slide two the before, slide three a close up, slide four your price or booking info.
- Reel. Before, a few seconds of brushing up the hairs, the reveal. Put "brow lamination before and after" in the on screen text and the caption so people searching find it.
- Highlight. Keep a "Results" or "Lamination" highlight so new followers can see your work without scrolling.
- Healed or day two follow up. A second post a couple of days later shows clients how the result settles.
For the words under the photo, pick from the brow lamination Instagram captions, and if clients still ask what the treatment actually does, the lamination vs microblading comparison helps them choose.
The templates that fit brow lamination before and afters
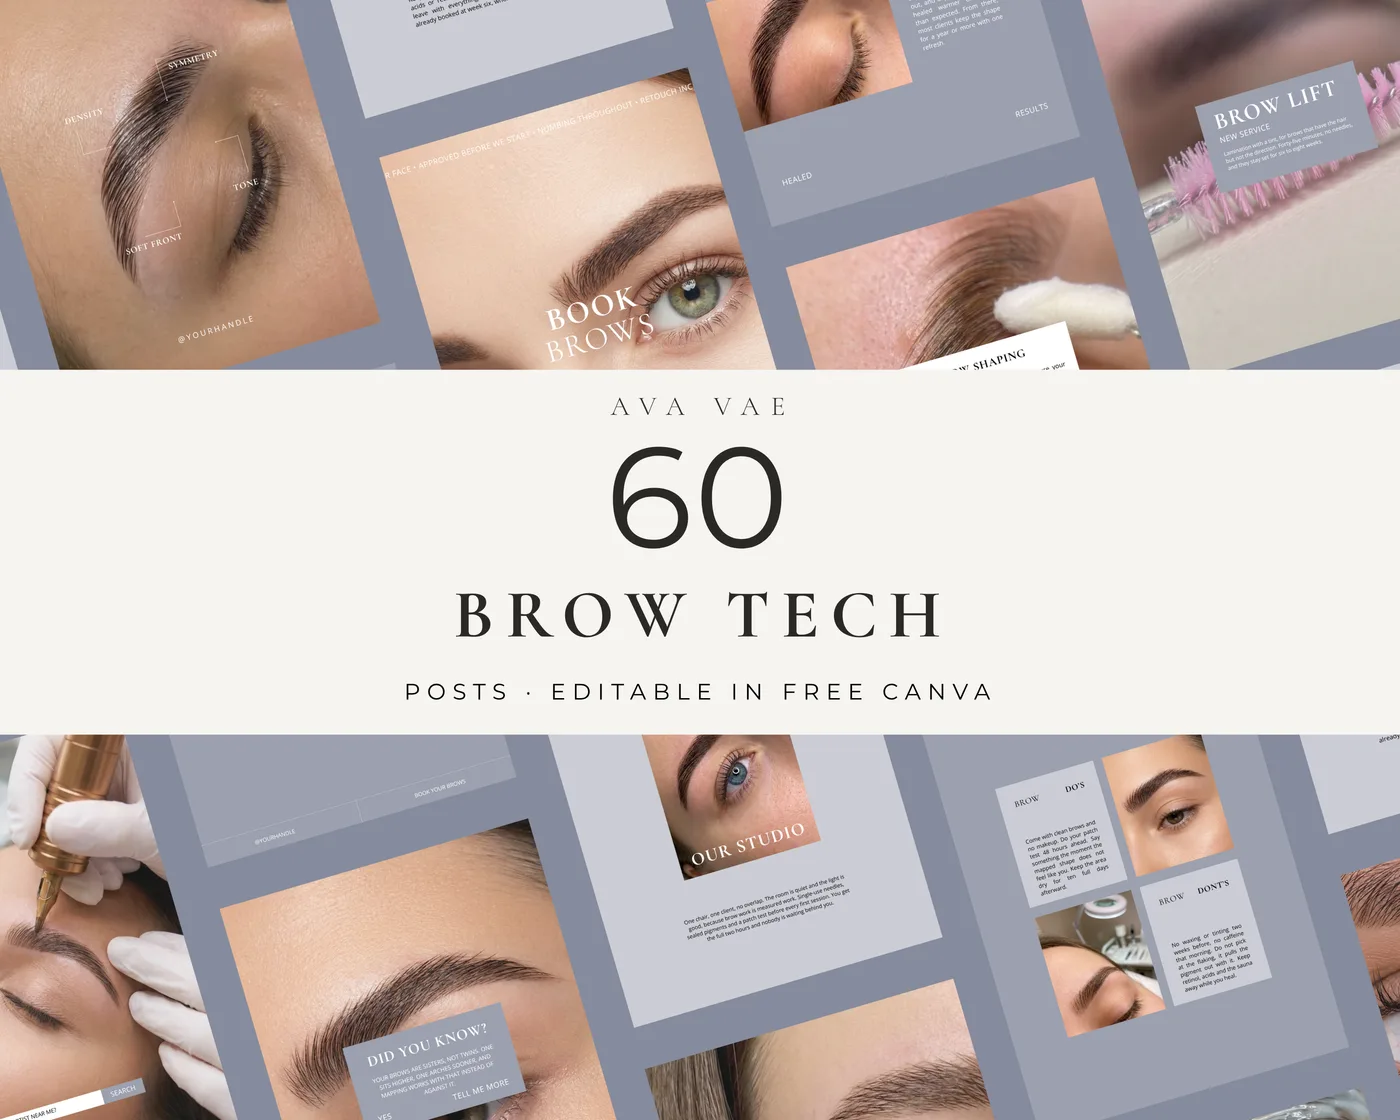
The Brow Instagram Post Templates include ready made before and after layouts, so you only drop in your two photos and post. Each set holds 60 editable Canva posts for brow artists: before and after, healed results, price list, booking open, aftercare steps and client reviews. The Aesthetic style suits lamination and tint studios, and there is also a Minimal and a Luxury style. Everything edits in the free version of Canva, no Canva Pro needed. See every brow set on the brow Instagram templates page.
Frequently asked questions
How do I take good brow lamination before and after photos? Use the same spot, the same light and the same angle for both photos, take the before with untouched brows, and do not edit the brows themselves. Daylight from a window in front of the client is the easiest setup.
Should I post the after right away or wait a day? Many artists post the fresh result, because it looks most striking, and share a day two follow up to show how it softens. Both are useful as long as the caption says when the photo was taken.
Do I need permission to post a client's before and after? Yes. Ask before you start and note her answer, including whether she is happy with her full face or eyes only.
Should I mention tint in a lamination before and after? Yes. If you tinted, name it in the caption, so clients do not expect color from lamination alone.
What is the best Instagram format for brow lamination results? A side by side post or a carousel with the after on the first slide. Reels with the reveal work well too, especially with the service name in the on screen text.
Ava
Shop the templates
Editable Canva brows Instagram templates to put these ideas to work tonight.
Brow Instagram Post Templates
$11.55· 3 styles
Sale price · regularly $16.50
Brow Instagram Story Templates
$11.55· 3 styles
Sale price · regularly $16.50
Brow Instagram Reels Templates
$11.55· 3 styles
Sale price · regularly $16.50Browse all Brows templates.
Keep reading
Head Spa
Japanese Head Spa: The Ritual, the Steps and How to Offer It in Your Salon
Japanese head spa guide for head spa and scalp professionals: the ritual step by step, what makes it Japanese style, how to build, price and explain the treatment, and what to post on Instagram.
Brows
Henna Brows: What They Are, How Long They Last and How to Explain Them
Henna brows guide for brow artists: what brow henna is, how it differs from brow tint, how long henna brows last, patch tests, aftercare and how to show the service on Instagram.
Brows
Microblading Touch Up: Timing, What to Expect and How to Explain It
Microblading touch up guide for brow artists: when to book the perfecting session, what happens at the appointment, how to price it, yearly color boosts and how to remind clients on Instagram.