Short answer: The lip blush healing process usually moves through a fresh stage, a flaking stage, a lighter "ghosting" stage and a settled healed color, and this page explains those stages in plain words for artists to share with clients. Every client heals differently, so the stages below describe what is common, not fixed days. You add your own timing.
Most of the questions you get after a lip blush appointment are about healing. "Is this normal?" "Where did my color go?" "Did it fade already?" I wrote this so you can answer once, link it, and spend less time on late night messages. It is a communication guide for artists, not medical advice. Your training, your pigments and your local rules come first, and clients should always follow the instructions of their own artist.
The lip blush healing stages at a glance
Here is the whole lip blush healing process in one table. Copy it into your own words, add the timing you teach, and it becomes a client handout, a highlight or a carousel.
| Stage | What clients often notice | What you can post |
|---|---|---|
| Fresh | Color looks bold and lips may feel tender or a little swollen | Fresh result post, aftercare story |
| Flaking | Lips feel dry and small flakes come off on their own | "Do not pick" reminder story |
| Ghosting | Color looks lighter or patchy for a while | "Your color is still there" story |
| Healed | Color settles into a softer, even tone | Healed result post, touch up reminder |
Lip blush healing process day by day, in client words
Clients do not want a lesson, they want to know if what they see in the mirror is normal. These short scripts are written so you can paste them into a text message or a story. Swap in the days you use.
Stage 1: Fresh
"Right after your appointment your lips will look brighter and bolder than the final result. They may feel tender or a bit swollen. That is the color sitting on top, it softens from here. Follow the balm routine I gave you."
This is the moment clients take the most photos and worry the most about the color being "too much". Telling them in advance that the fresh color is not the final color saves you a lot of messages.
Stage 2: Flaking
"Your lips will start to feel dry and small flakes will come off. Let them come off on their own. Please do not pick or peel, even if it is tempting. Keep following your routine."
This is the stage where picking happens, so it is the best moment for a reminder story. One clear line works better than a long list.
Stage 3: Ghosting
"Once the flakes are gone, your color may look much lighter, uneven, or almost gone. This is often called the ghosting stage. Do not panic, the color usually comes back softer and more even while your lips keep settling. Message me if you are unsure."
The ghosting stage is the one that brings the most "it is gone!" messages. A short note in your aftercare and a story post explaining it are the two things that help most.
Stage 4: Healed
"Your lips have settled into their healed color. This is what we look at together at your touch up. Send me a photo in daylight if you like, and book your touch up for the date I gave you."
Healed photos are some of your best content. Ask permission, take them in daylight, and post them next to the fresh photo so new clients see the full picture.
Why explaining the lip blush healing process helps your business
A client who knows what is coming trusts the process and trusts you. That means:
- Fewer worried messages. The answer is already in their phone.
- Better healed results. Clients who understand the flaking stage are less likely to pick.
- More touch up bookings. When the healed stage ends with "book your touch up", rebooking feels like the natural next step.
- Better reviews. A client who expected the ghosting stage does not leave a review in the middle of it.
Pair this page with your aftercare card. If you do not have one yet, our lip blush aftercare instructions has a copy ready card you can edit.
How to show lip blush healing on Instagram
Healing content is educational, it gets saved, and it shows your real work. Three formats that work well together:
- A healing timeline reel. Fresh, flaking, ghosting and healed clips of the same client (with permission), with one line of text per stage. The Lip Blush Instagram Reels Templates include healing timeline and day by day layouts, so you only drop in your clips.
- A fresh vs healed post. One photo of day one next to the healed result. The Lip Blush Instagram Post Templates have before and after and healed result layouts.
- A "Healing" story highlight. Save one story per stage and pin the highlight next to your aftercare, so clients find the answer before they message you.
All of them edit in the free version of Canva, no Canva Pro needed.
Lip blush healing vs lip tattoo healing
Clients use both words, and many search for "lip tattoo healing process" as well. Many artists describe similar stages for both, but follow your own training for each service, technique and pigment. If you offer lip neutralization too, explain the stages for that service separately, in your own words.
Frequently asked questions
What are the stages of lip blush healing? Many artists describe four: fresh, flaking, ghosting and healed. Timing differs per client, so add the timing you teach.
What is the ghosting stage? A stage where the color can look lighter or patchy for a while before it settles. Clients should ask their artist if they are unsure.
When should clients book a touch up? When their artist advises. Many artists schedule it after the lips have healed.
Can I share this page with my clients? Yes. You can link it or copy the stage table into your own words.
How do I show healing on Instagram? A fresh vs healed post, a healing timeline reel and a saved story highlight work well together.
Is this medical advice? No. It is general information for artists. Clients should follow their own artist's instructions, and artists should follow their training and local rules.
Turn healing questions into content
Every question a client asks about healing is a post idea. Save the stages as a highlight, film the timeline, and send this page with your aftercare. Browse all lip blush Instagram templates to find the style that fits your studio.
Ava
Shop the templates
Editable Canva lip blush Instagram templates to put these ideas to work tonight.
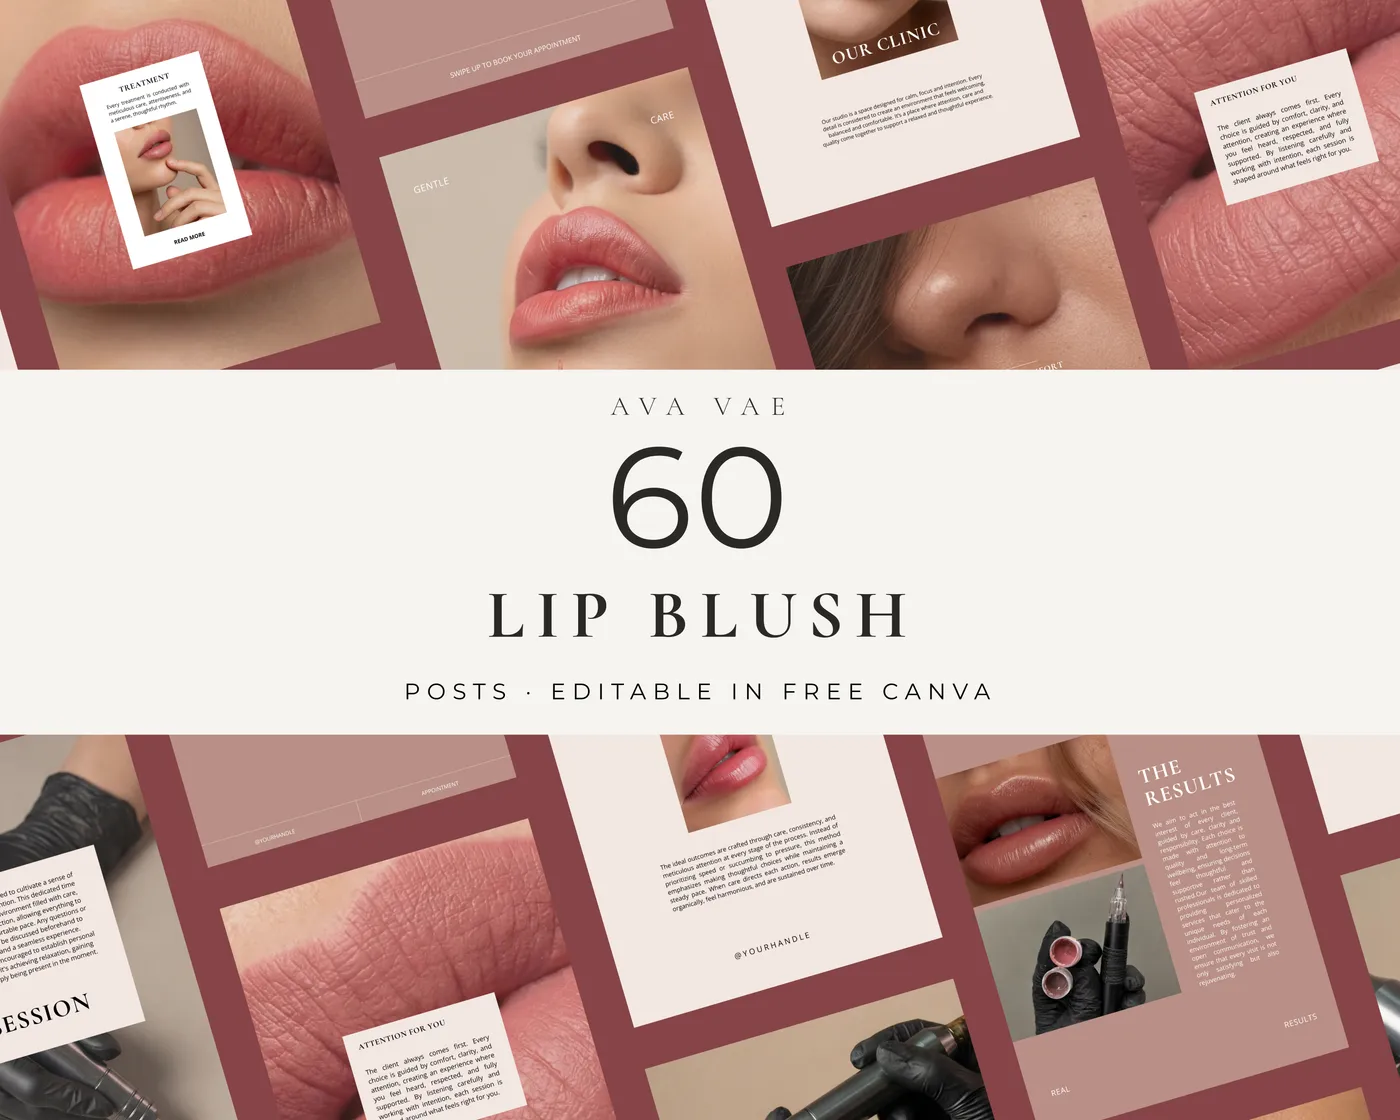
Lip Blush Instagram Post Templates
$11.55· 3 styles
Sale price · regularly $16.50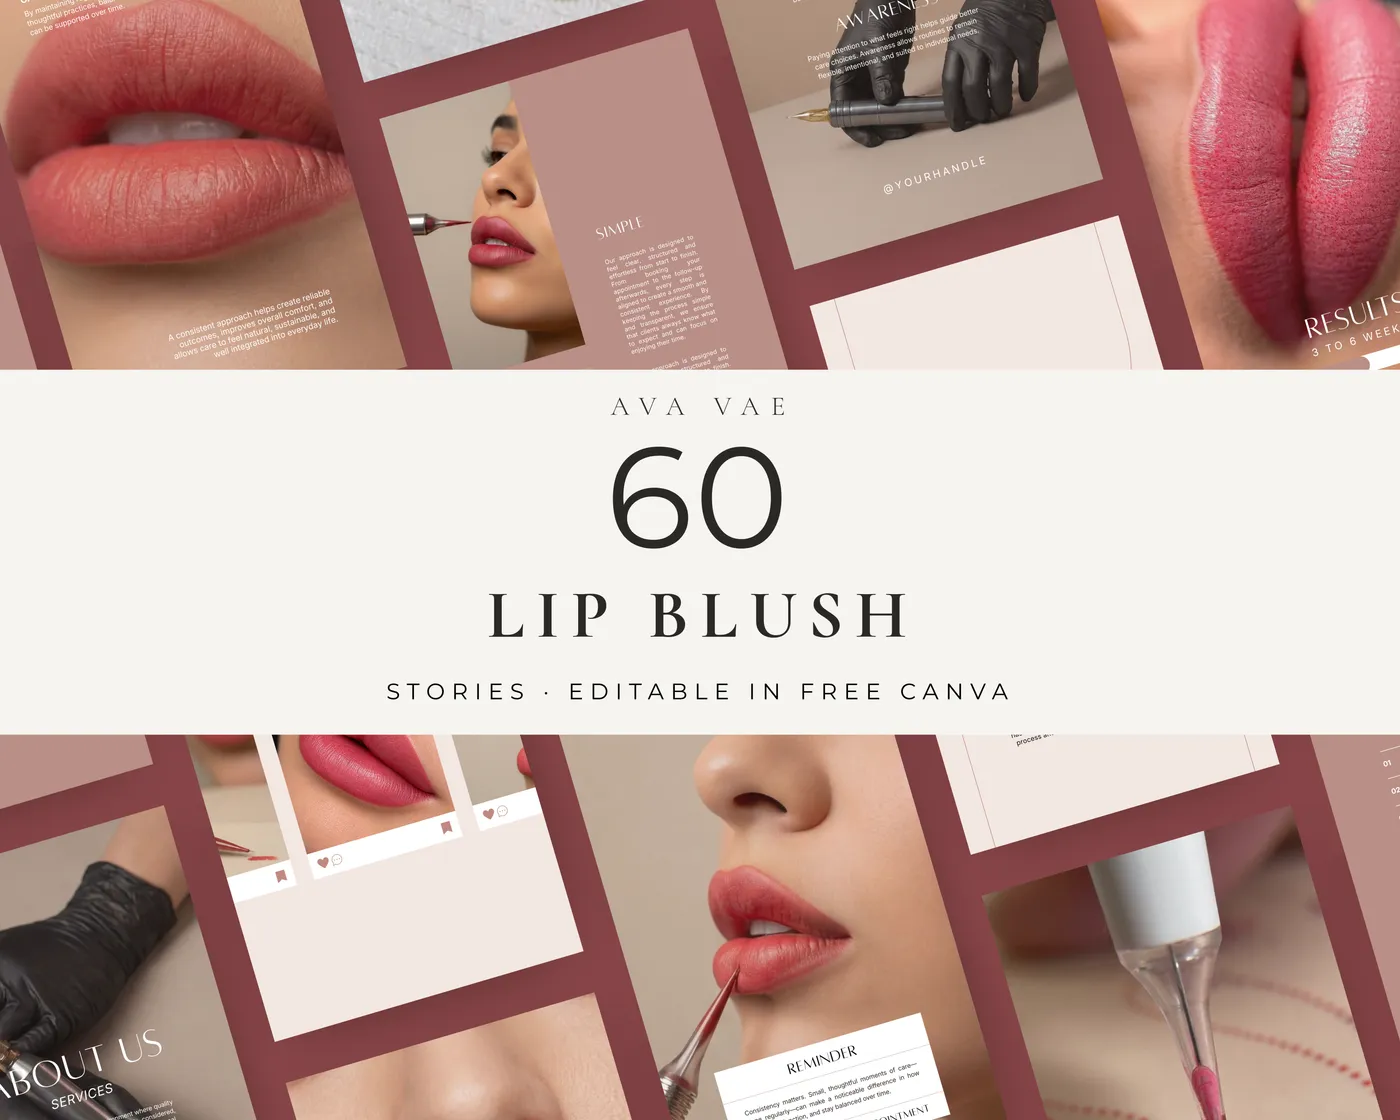
Lip Blush Instagram Story Templates
$11.55· 3 styles
Sale price · regularly $16.50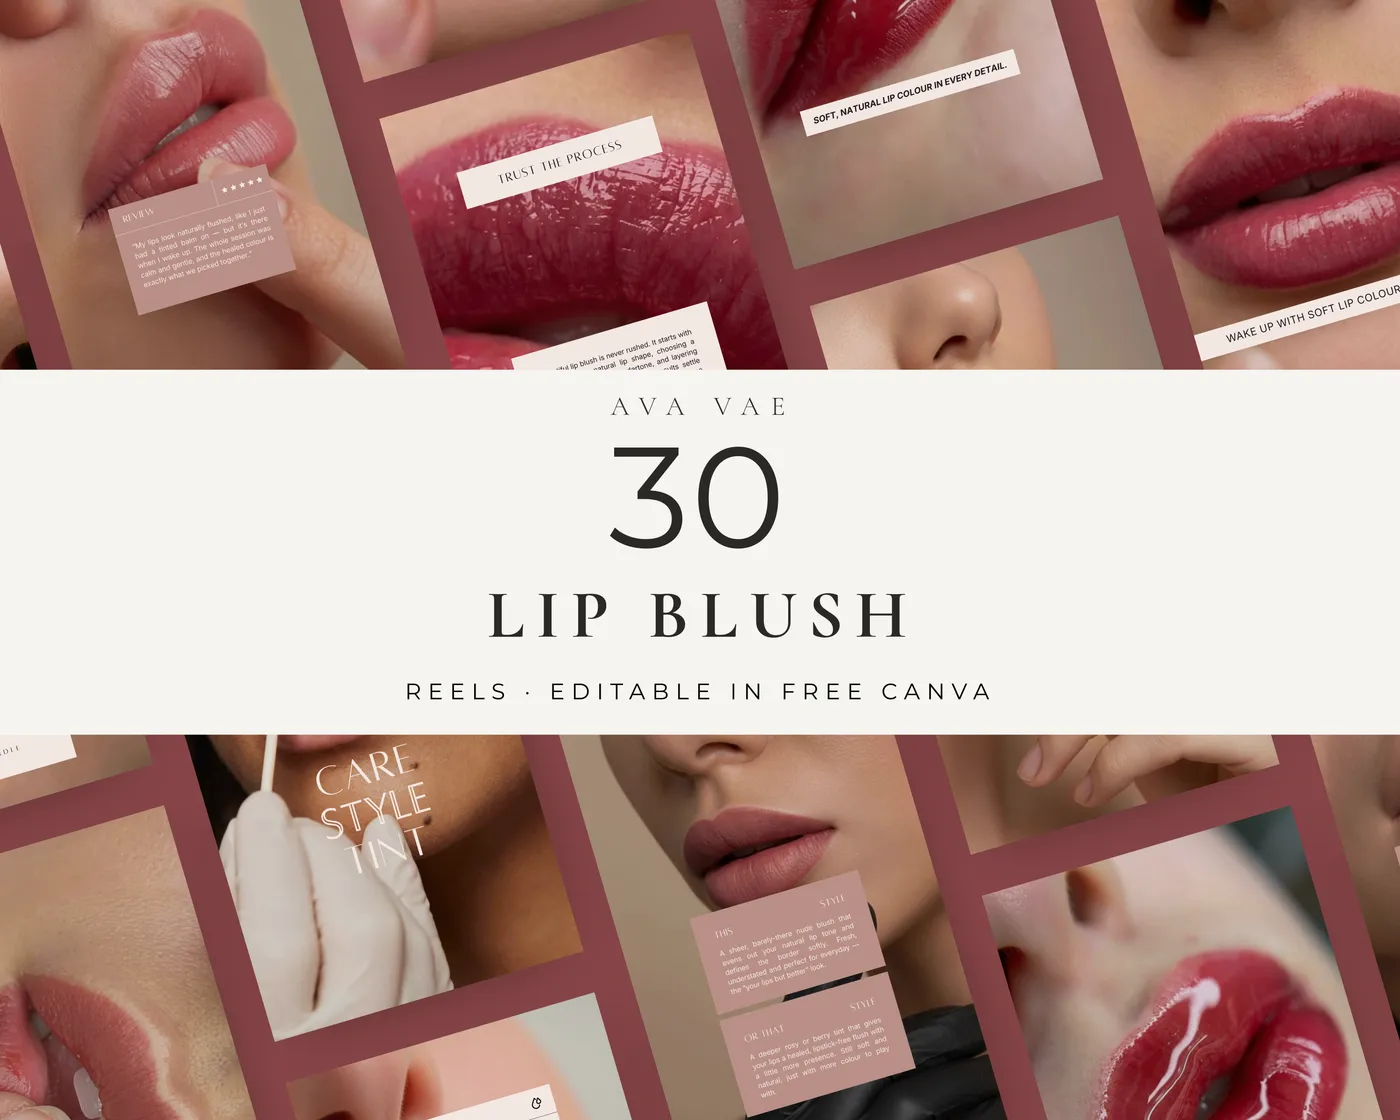
Lip Blush Instagram Reels Templates
$11.55· 3 styles
Sale price · regularly $16.50Browse all Lip Blush templates.
Keep reading
Head Spa
Japanese Head Spa: The Ritual, the Steps and How to Offer It in Your Salon
Japanese head spa guide for head spa and scalp professionals: the ritual step by step, what makes it Japanese style, how to build, price and explain the treatment, and what to post on Instagram.
Brows
Henna Brows: What They Are, How Long They Last and How to Explain Them
Henna brows guide for brow artists: what brow henna is, how it differs from brow tint, how long henna brows last, patch tests, aftercare and how to show the service on Instagram.
Brows
Microblading Touch Up: Timing, What to Expect and How to Explain It
Microblading touch up guide for brow artists: when to book the perfecting session, what happens at the appointment, how to price it, yearly color boosts and how to remind clients on Instagram.