Short answer: Brow mapping is the measured outline you draw before any brow service. You mark a center line, then three points per brow (start, arch and tail), join them into a top and bottom line, and check both sides against each other before a single hair is touched. Good brow mapping makes microblading, powder brows, lamination and tint look planned instead of guessed, and it is one of the best things you can show on Instagram.
Clients rarely ask for "symmetry". They ask why one brow always looks higher, or why their last brows looked too round. Brow mapping answers both, because it replaces taste with measurements the client can see on her own face.
What brow mapping is (and is not)
Brow mapping is a guide, not a stencil. It uses the client's own features (the nose, the eyes, the brow bone and the natural hair) to find where each brow should begin, peak and end. A stencil forces one shape onto every face. Mapping starts from the face in your chair and lets you adjust for the bone structure, muscle movement and the hair she actually has.
It is used before:
- Microblading, nano brows and powder brows, where the outline decides a result that lasts for years.
- Brow lamination and tint, so you know which hairs to set and where the tint should stop.
- Waxing, threading and shaping, so you only remove what sits outside the shape.
The three points of brow mapping
Most artists start from the same three reference lines. Use a ruler, a mapping string or a long pencil as your straight edge.
- The start. Hold the straight edge vertically from the side of the nose (the outer edge of the nostril) straight up. Where it crosses the brow is where the brow begins.
- The arch. Angle the straight edge from the side of the nose through the outer edge of the iris while the client looks straight ahead. Where it crosses the brow is the high point.
- The tail. Angle the straight edge from the side of the nose past the outer corner of the eye. Where it crosses is where the tail ends.
Treat these points as a starting map, not a rule. A client with a strong brow bone, close set eyes or a naturally low arch may need a point moved a few millimetres. That judgment is what clients pay you for.
Brow mapping step by step
- Consult first. Ask how she fills her brows today, what she dislikes and look at old photos. Note which brow sits higher and how her brows move when she talks.
- Clean and brush. Remove oils, brush the hairs up and then into place so you see the true shape.
- Mark the center line. Draw a vertical line between the brows, from the forehead down toward the nose. Every measurement on the left gets checked against the right from this line.
- Mark the three points on both sides. Start, arch and tail, as above. Compare the heights with a level or a pair of calipers.
- Draw the bottom line. Follow the lower edge of the natural brow from the start to the arch to the tail, keeping the front slightly softer.
- Draw the top line. Mirror the bottom line, keeping the width at the front and tapering after the arch. The front should never be the darkest or sharpest part.
- Check from three angles. Front, both sides and with her looking up. Ask her to raise her brows and relax again, because muscle pull often lifts one side.
- Show her in the mirror and agree. Do not start until she is happy with the map. Take a photo of the map for your records.
Mapping string, pencil or ruler?
Pre-inked mapping string snaps clean, straight lines and is fast once you have the knack. It is the favorite for microblading and powder brows.
A brow pencil or a skin-safe marker with a ruler is easier to learn and fine for lamination, tint and shaping.
Calipers help with the golden ratio approach, where you measure proportions between start, arch and tail. They are handy for checking symmetry, even if you map by eye.
Whichever tool you use, always map the same way. A routine is what makes your results consistent.
Common brow mapping mistakes
- Mapping without the client looking straight ahead. Eye position changes where the arch lands.
- Matching the brows to each other instead of to the face. If one eye sits lower, perfect brow symmetry can look off. Balance beats identical.
- A start that is too square or too dark. Soft fronts look natural on almost everyone.
- A tail that drops below the start. It drags the face down. Keep the tail end at or above the level of the start.
- Skipping the photo. You want a record for touch ups and for your content.
Turn your brow mapping into content that books
The mapped brow is one of the most convincing photos a brow artist can post. It shows precision before the result even exists. Post the map, the finished brow and a short line about why the shape suits that client. A three slide carousel works well: map, process, result.
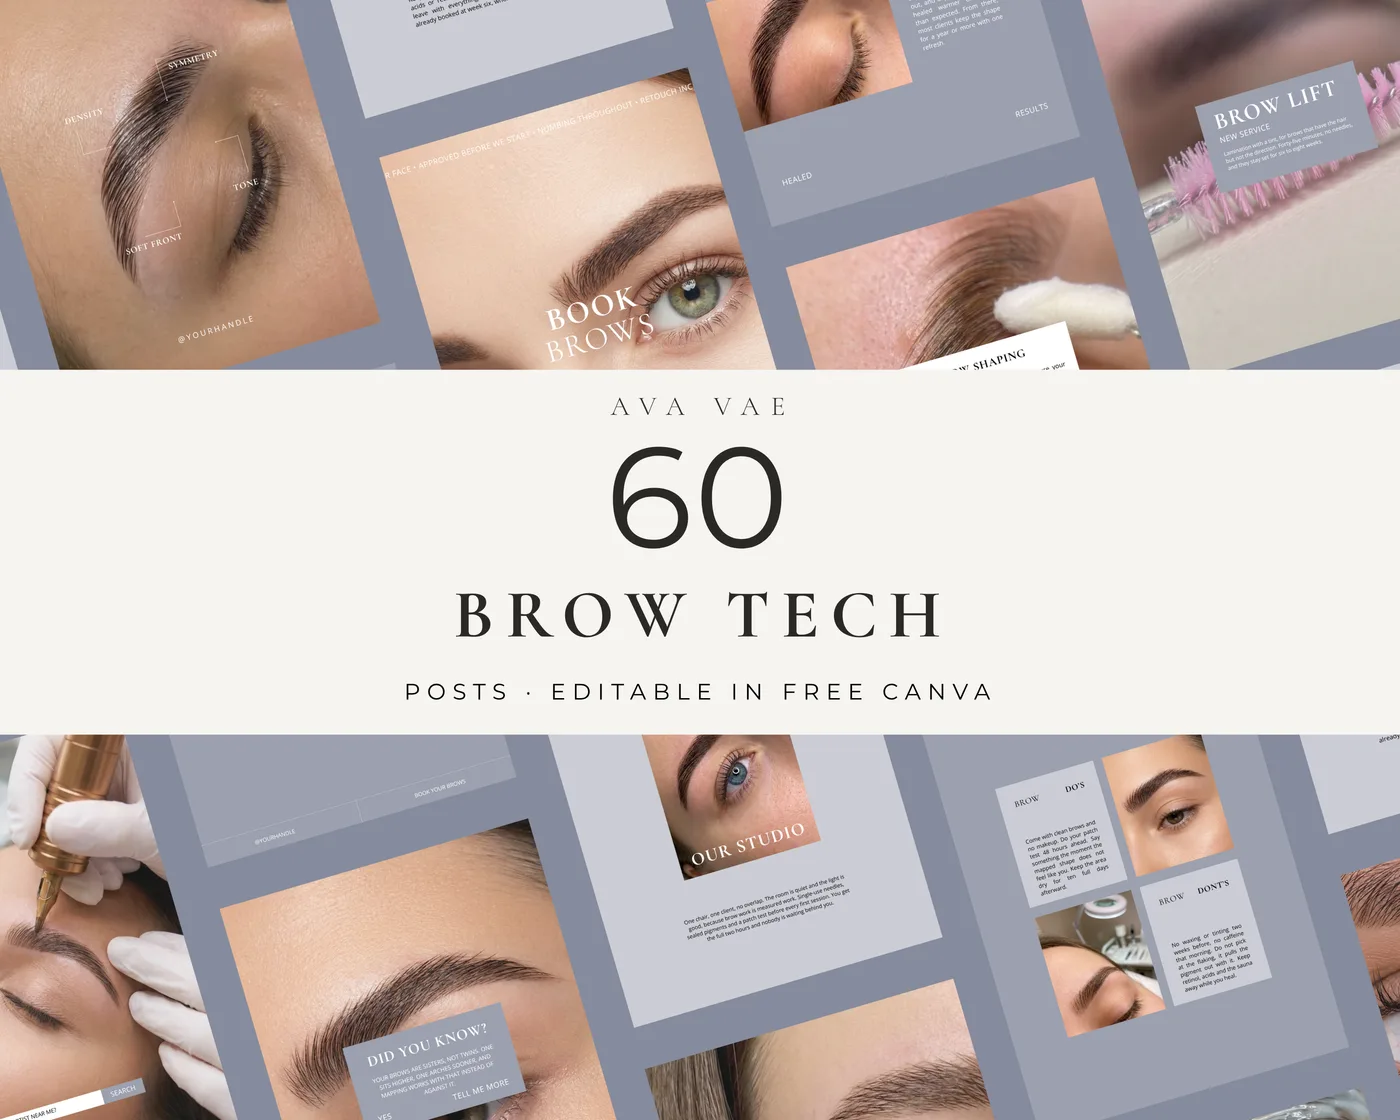
That is exactly what the Brow Instagram Post Templates are built for. They include before and after layouts, education posts that explain your process and booking posts, in three styles (Minimal, Luxury and Aesthetic) that you edit in the free version of Canva. Pair them with these brow artist Instagram post ideas for a full month of posts. If clients ask which treatment to book after the mapping, send them the brow lamination vs microblading comparison. Everything else for your brow business is on the brows page.
Frequently asked questions
What is brow mapping? Brow mapping is measuring and drawing the ideal brow outline on the client's face before a brow service, using the nose, eyes and natural brow as reference points.
Is brow mapping the same as the golden ratio? Not quite. The golden ratio is one way to measure proportions, usually with calipers. Brow mapping is the whole process of marking the start, arch and tail and drawing the outline, whichever measuring method you use.
Do you need brow mapping for lamination? It helps. A quick map shows where the hairs should be set and where tint should stop, so the result looks shaped instead of just lifted.
How long does brow mapping take? For an experienced artist usually a few minutes, longer for PMU where the map decides a result that lasts much longer. Take the time; it is the step clients remember.
Can I post my brow mapping on Instagram? Yes, and you should, with the client's permission. A clean photo of the map shows skill and care, and it pairs well with the healed or finished result.
Ava
Shop the templates
Editable Canva brows Instagram templates to put these ideas to work tonight.
Brow Instagram Post Templates
$11.55· 3 styles
Sale price · regularly $16.50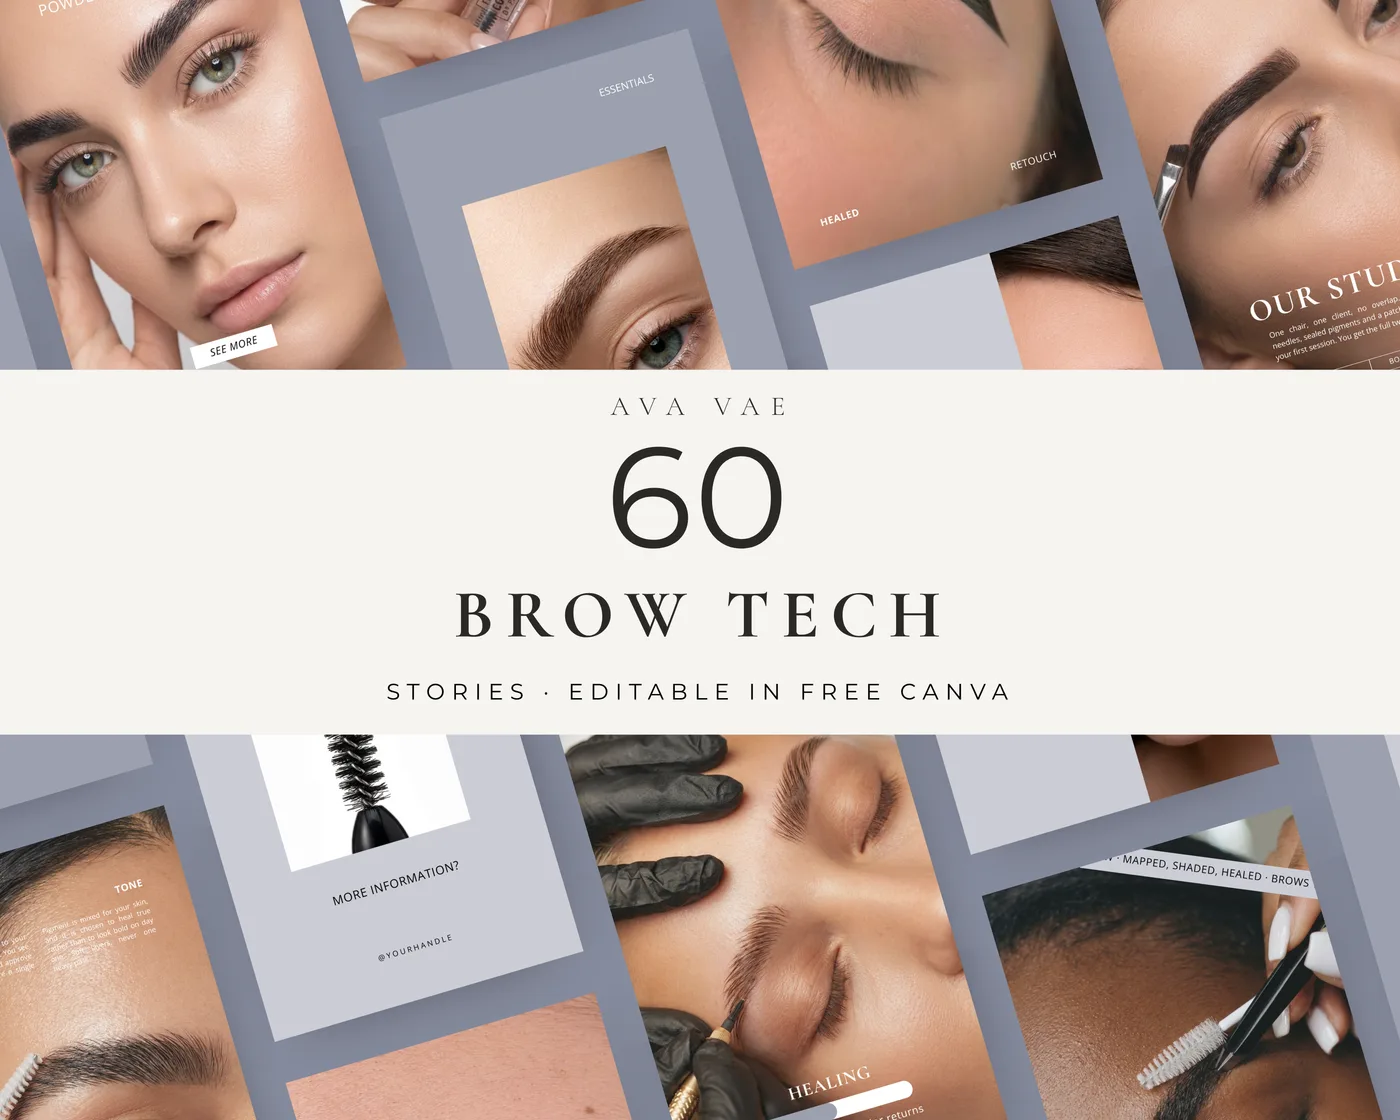
Brow Instagram Story Templates
$11.55· 3 styles
Sale price · regularly $16.50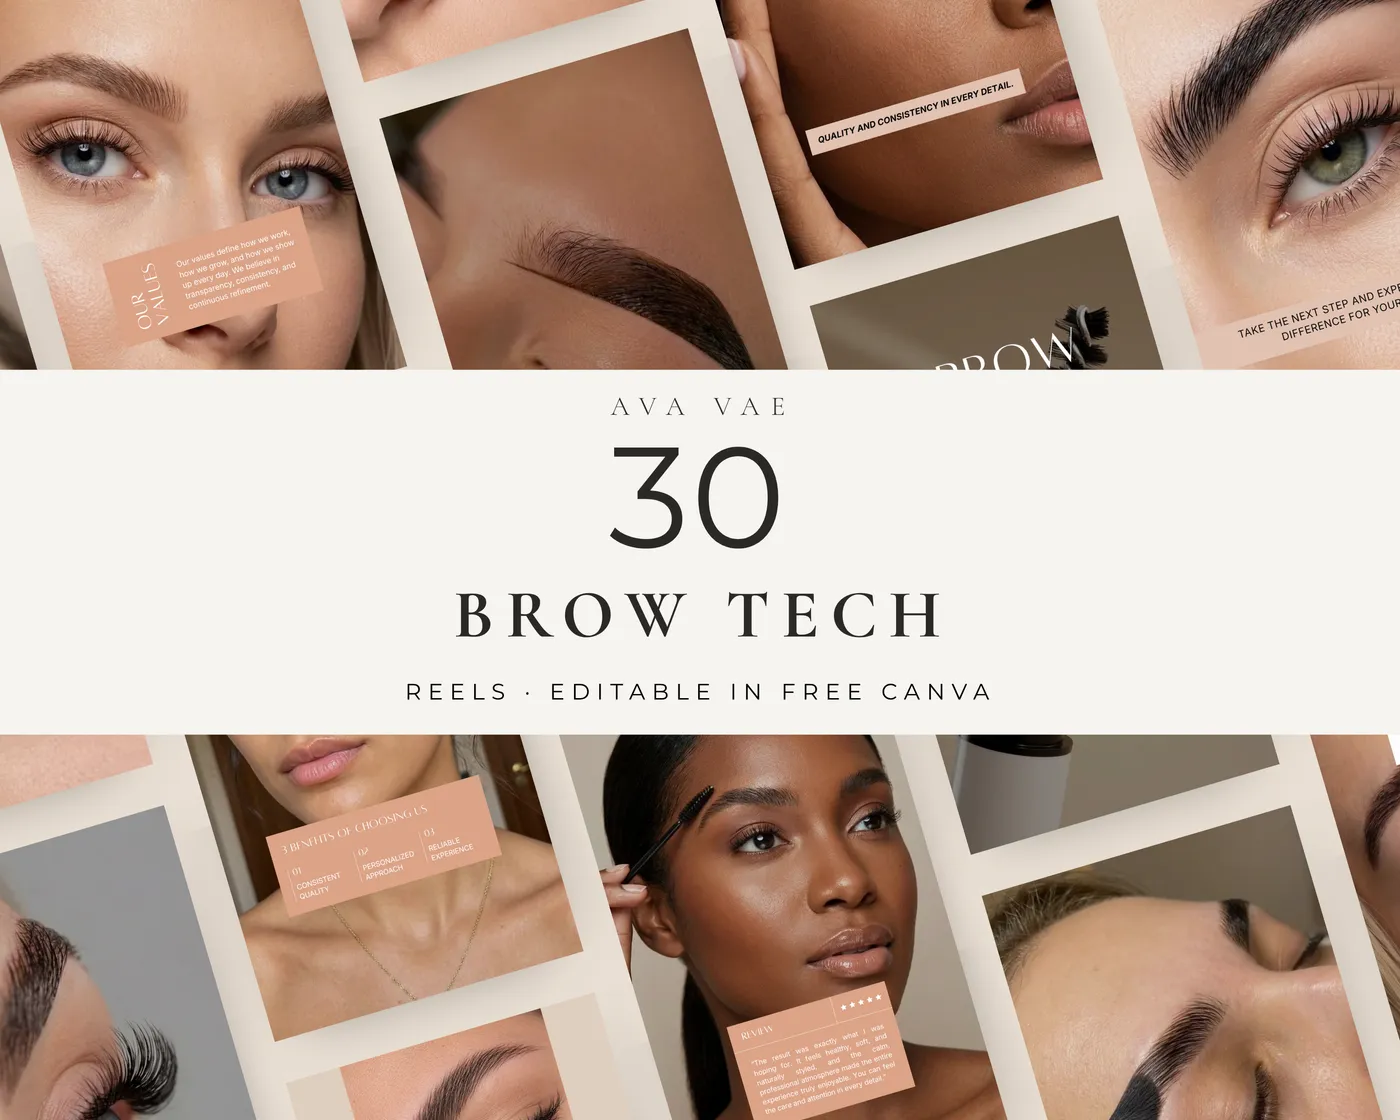
Brow Instagram Reels Templates
$11.55· 3 styles
Sale price · regularly $16.50Browse all Brows templates.
Keep reading
Head Spa
Japanese Head Spa: The Ritual, the Steps and How to Offer It in Your Salon
Japanese head spa guide for head spa and scalp professionals: the ritual step by step, what makes it Japanese style, how to build, price and explain the treatment, and what to post on Instagram.
Brows
Henna Brows: What They Are, How Long They Last and How to Explain Them
Henna brows guide for brow artists: what brow henna is, how it differs from brow tint, how long henna brows last, patch tests, aftercare and how to show the service on Instagram.
Brows
Microblading Touch Up: Timing, What to Expect and How to Explain It
Microblading touch up guide for brow artists: when to book the perfecting session, what happens at the appointment, how to price it, yearly color boosts and how to remind clients on Instagram.